Although Stellar Converter for EDB auto-maps source to destination mailboxes, it also provides a Create Mailbox option. This helps you create a new user mailbox on the destination Live Exchange server and then manually map the mailboxes to export the EDB mailboxes correctly.
Prerequisites
- Configure Outlook profile (destination Exchange) with Administrator rights on the system where Stellar Converter for EDB is installed.
- To create user mailboxes and export mailboxes on the destination server, the user must have full data access rights.
Steps to create mailbox in Stellar Converter for EDB:
- Open Stellar Converter for EDB and select "Offline EDB" option.
- Click 'Browse' to select the EDB file or use the 'Find' option to locate the EDB file in the available drives, folder, or sub-folder.
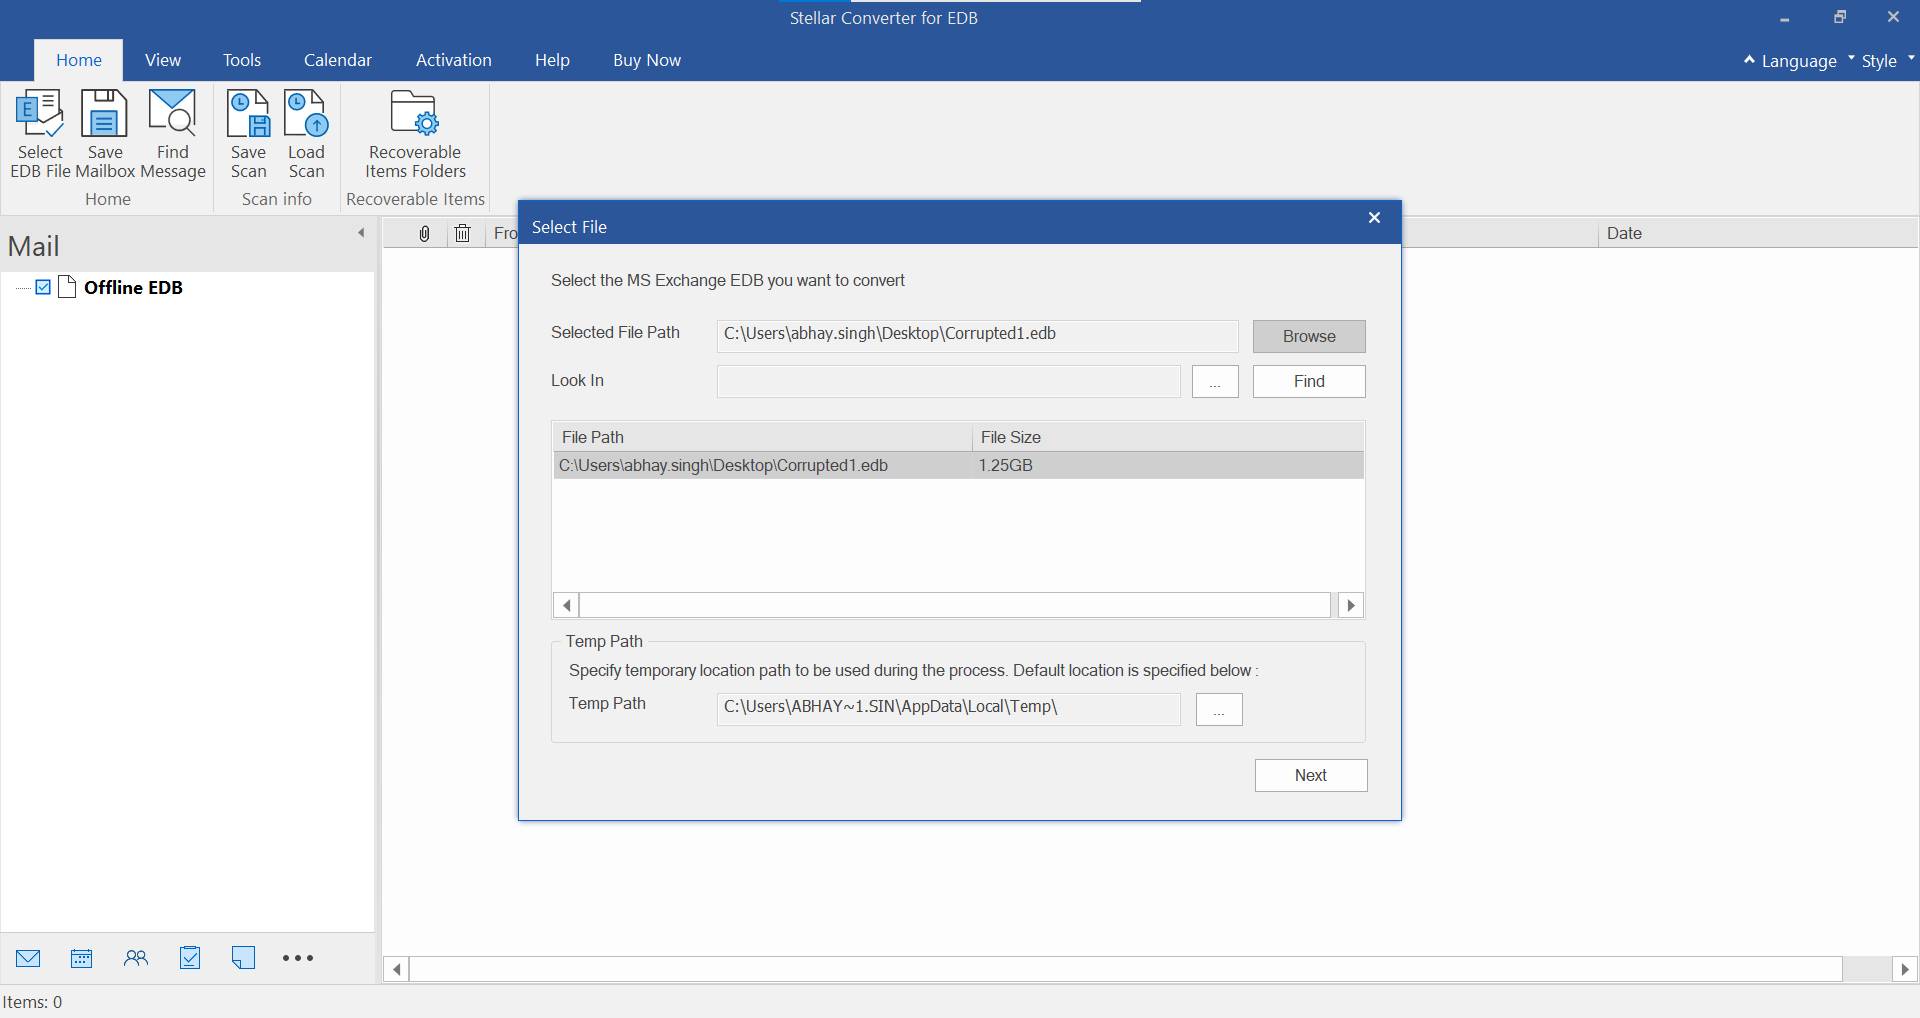
- You may change the default Temp Path and then click the 'Next' button to initiate the scan process.
- After the scan, the software displays an enhanced preview of all mailboxes in a three-pane view.

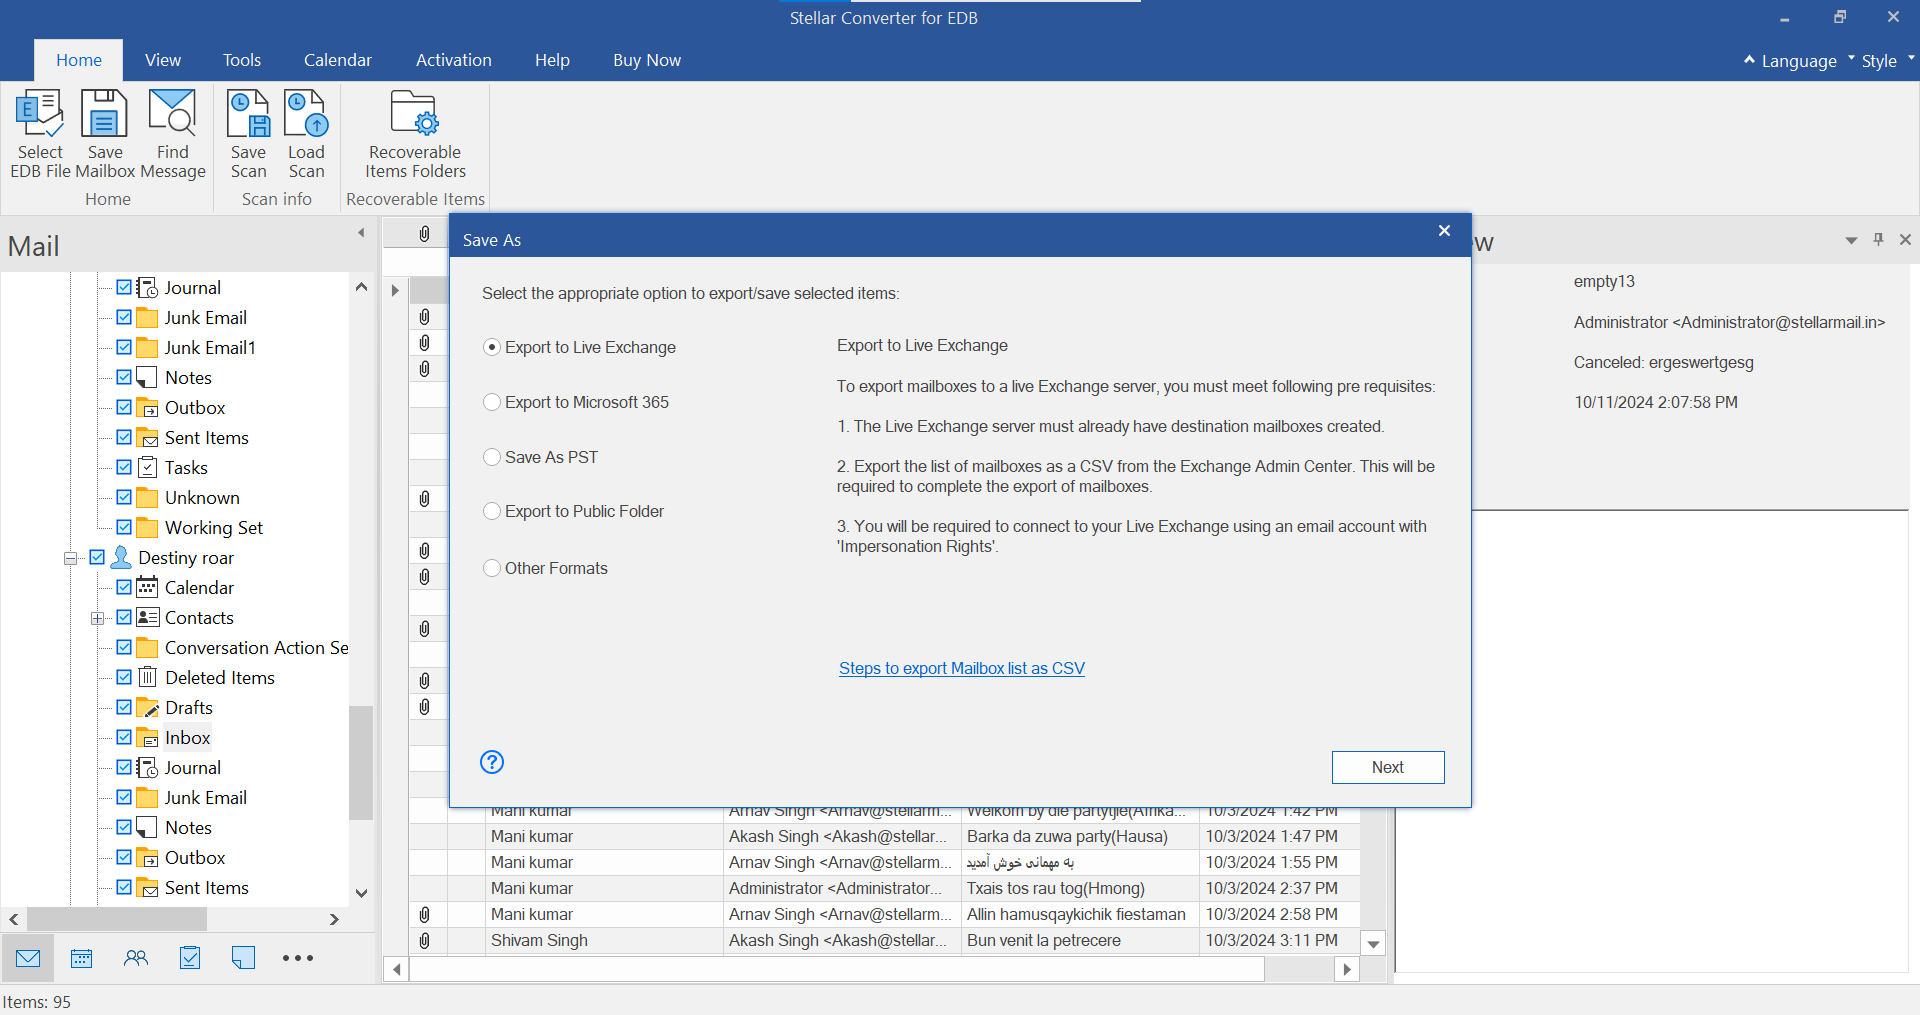
- Select the desired mailboxes and click 'Save' in the Home menu.
- Choose 'Export to Live Exchange' and click 'Next.'
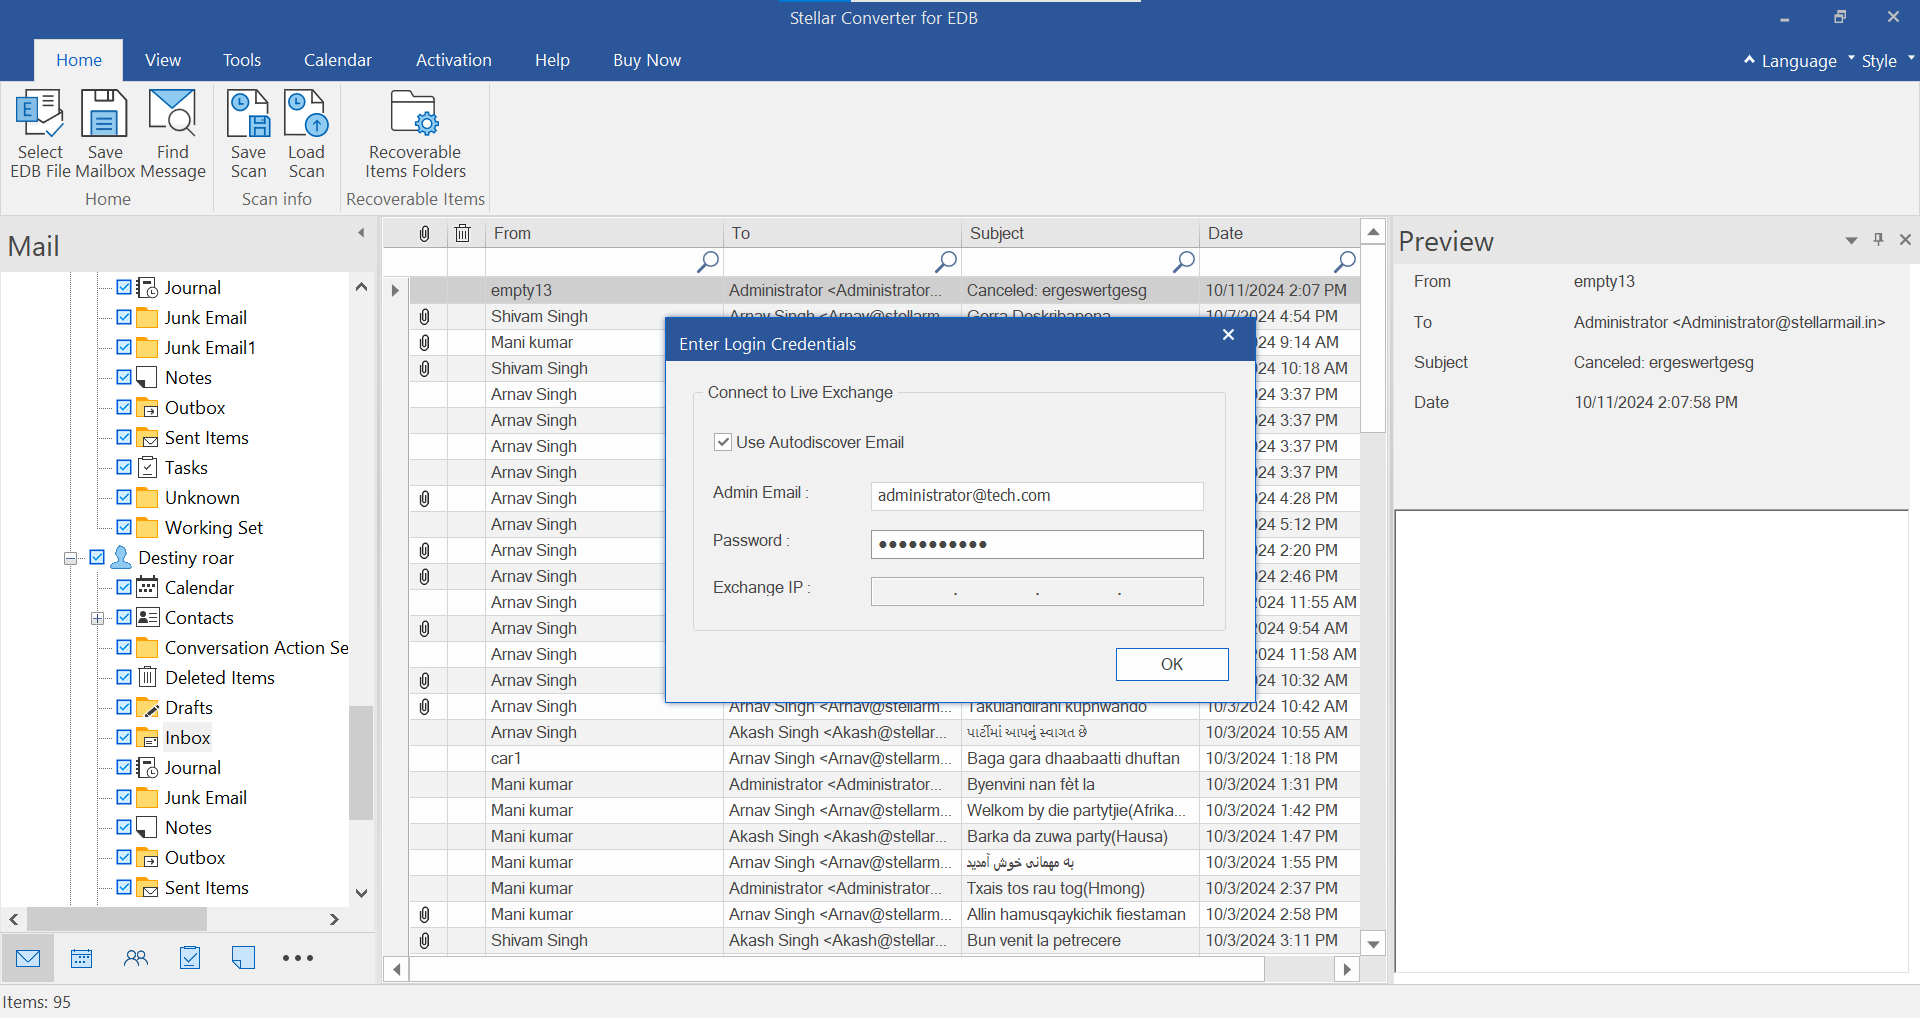
- Then choose an Outlook profile already configured on your system that has administrator rights. Enter the password and then enter the Domain Controller credentials.
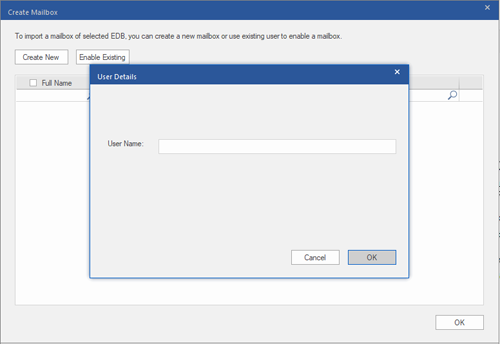
- To create a new user mailbox, click on the 'Create Mailbox' button.
- Enter User Name and click 'OK.'
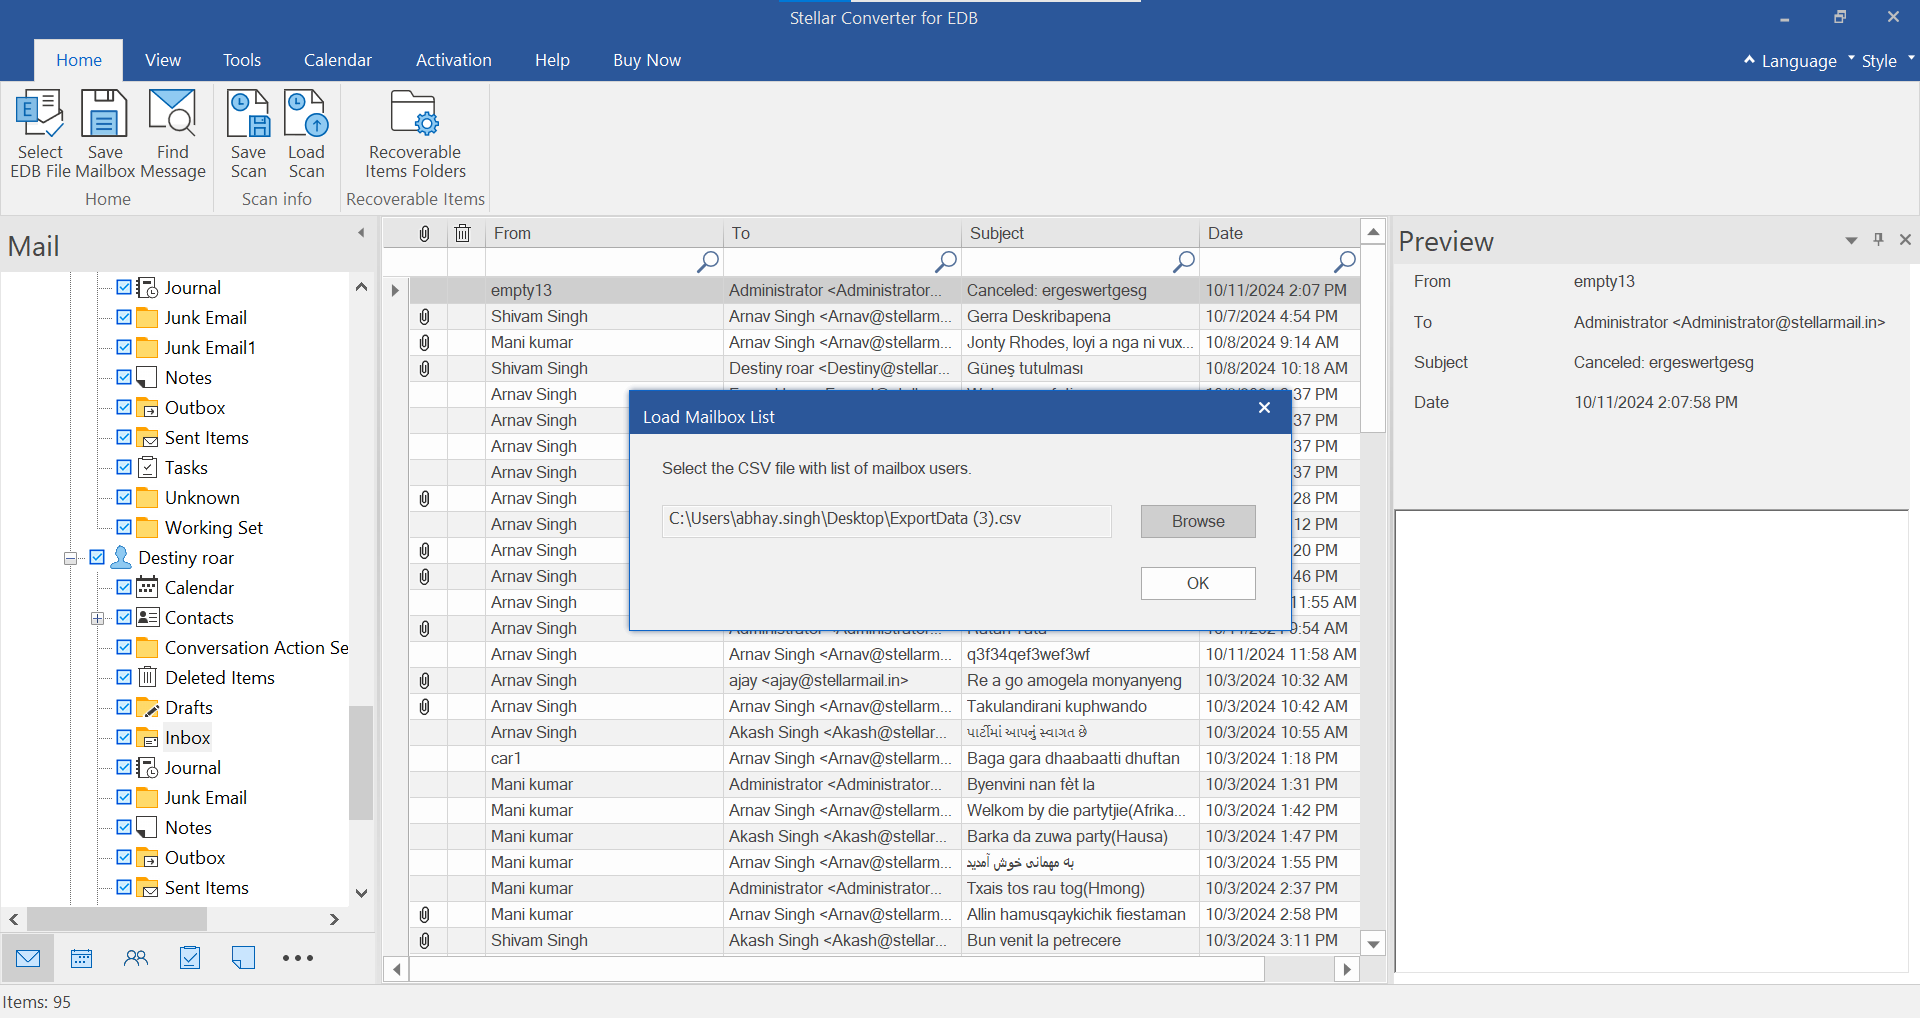
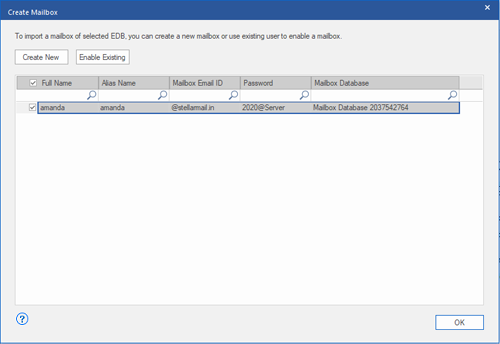
- Select the desired user from the list and click 'OK.'
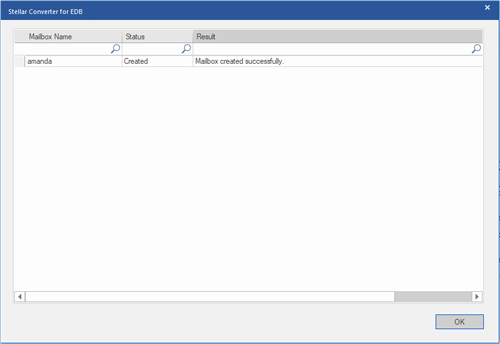
- This will create the mailbox and display 'Mailbox created successfully' in the Result column. Click 'OK'.
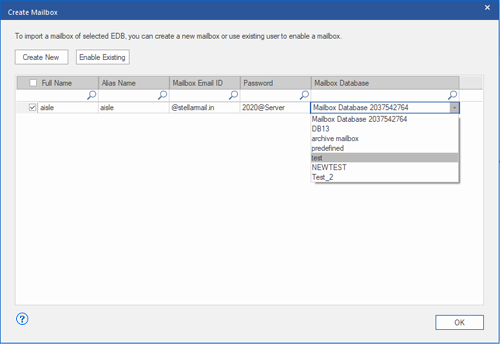
- You can edit the Full Name, Alias Name, Password, and choose Mailbox Database from available options.
Note: Exchange Administrator can verify the created mailbox in Active Directory (AD).


Comment Reply
User Comments