In case of any sort of data loss due to logical reasons on your Mac, you can use Stellar Data Recovery Standard Version to recover the lost data.
In this guide, we’ll be discussing the step-by-step process to install and use the Stellar Data Recovery software to recover the data on Mac.
Installing the Stellar Data Recovery Standard Version
Prior to initializing the installation procedure, make sure that your system meets the following minimum requirements:
- Processor: Intel-compatible (x86, x64)
- Operating System: macOS Big Sur 11, Catalina, and lower versions till OS X 10.11
- Memory (RAM): 8 GB (recommended) 4 GB (minimum)
- Hard Disk: Minimum 250 MB for installation files
Here are the Steps to Install the Software
Step 1: Extract the ‘StellarDataRecovery.dmg.zip’ file from the ZIP.
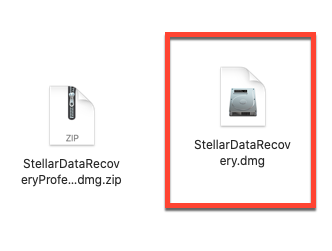
Step 2: Mount a Virtual Volume - Stellar Data Recovery by double-clicking the dmg file.
Step 3: Drag the Stellar Data Recovery application from the mounted virtual volume to the ‘Applications’ folder.
Step 4: Double-click the ‘Stellar Data Recovery’ to launch the software.
Step 5: Click ‘Accept’ on the License Agreement to open the user interface of Stellar Data Recovery.
How to Recover Data using Stellar Data Recovery Standard on Mac?
You can conveniently recover the lost data on Mac just by following the steps described below:
Step 1: Double-click on the ‘Stellar Data Recovery’ application icon.
Step 2: ‘Select What to Recover’ window appears. Select the type of data you want to recover. Click ‘Next’.
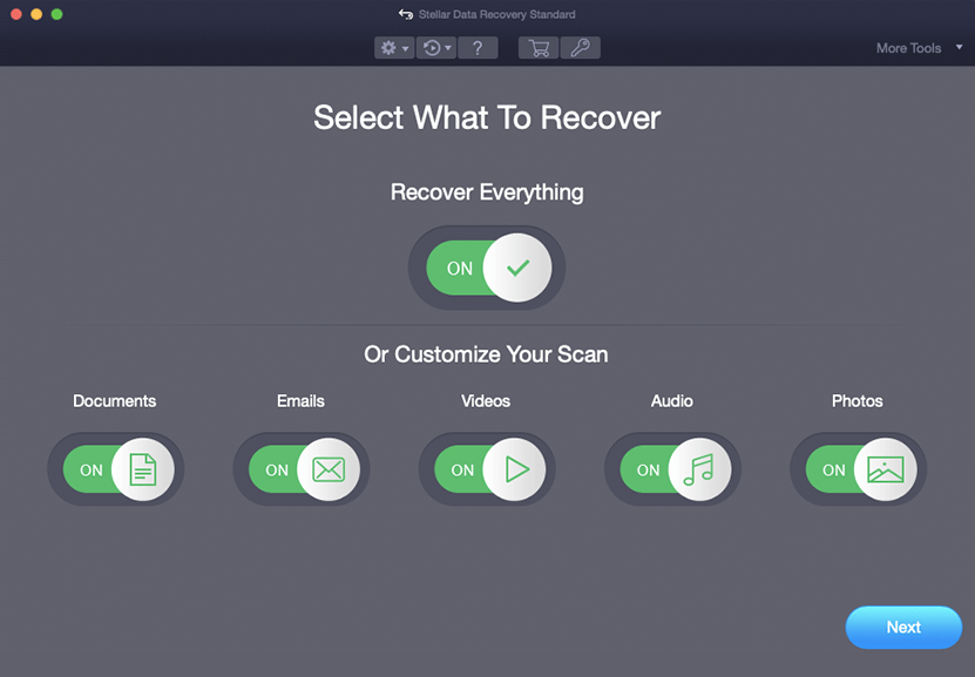
| Note: The Recover Everything option is turned ‘ON’ by default. You can customize your scan by selecting the type of files/folders as per your requirements. |
Step 3: On clicking ‘Next’, the ‘Select Location’ tab appears. Select the volume from where you want to recover the data.
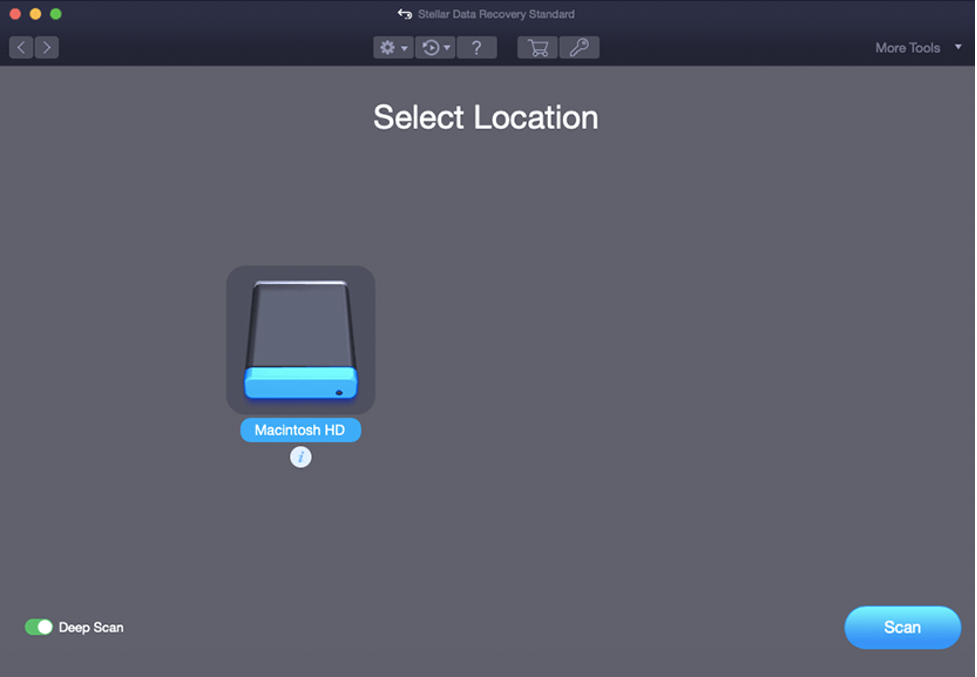
To view the information of the selected drive, click on the  (info) icon given below the volume name.
|
Note: If you are scanning a startup disk using ‘Stellar Data Recovery’ for macOS Big Sur till High Sierra for the first time, then you need to allow macOS to load an extension signed by ‘Stellar Data Recovery’. To know more, refer to Recover Data from System Disk with High Sierra and Above.
|
Step 4: The ‘Deep Scan’ toggle at the bottom left corner is ‘OFF’ by default. Switch it ‘ON’ to perform a comprehensive scan of the selected volume.
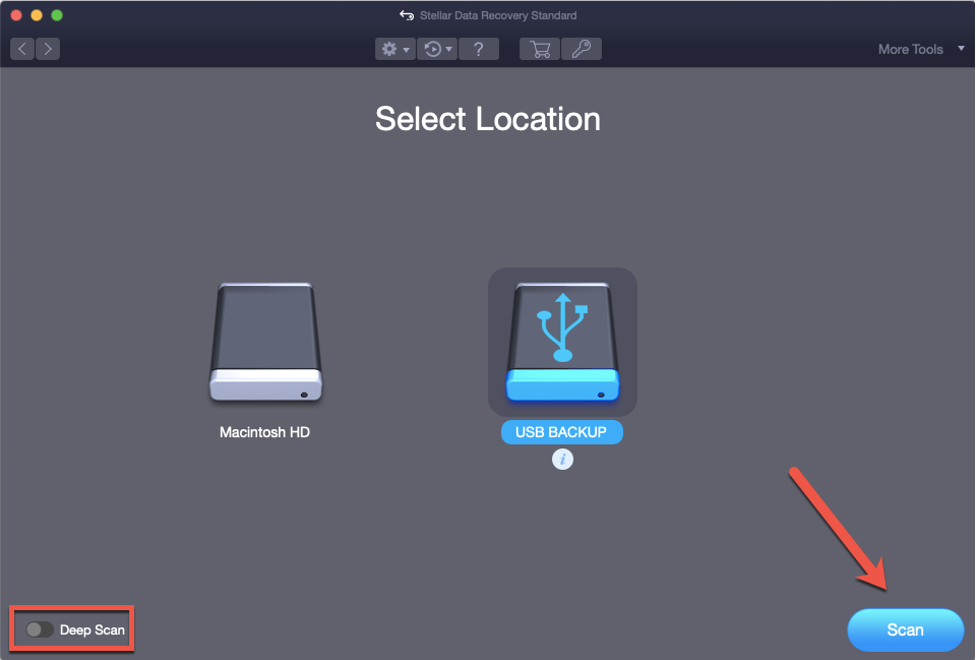
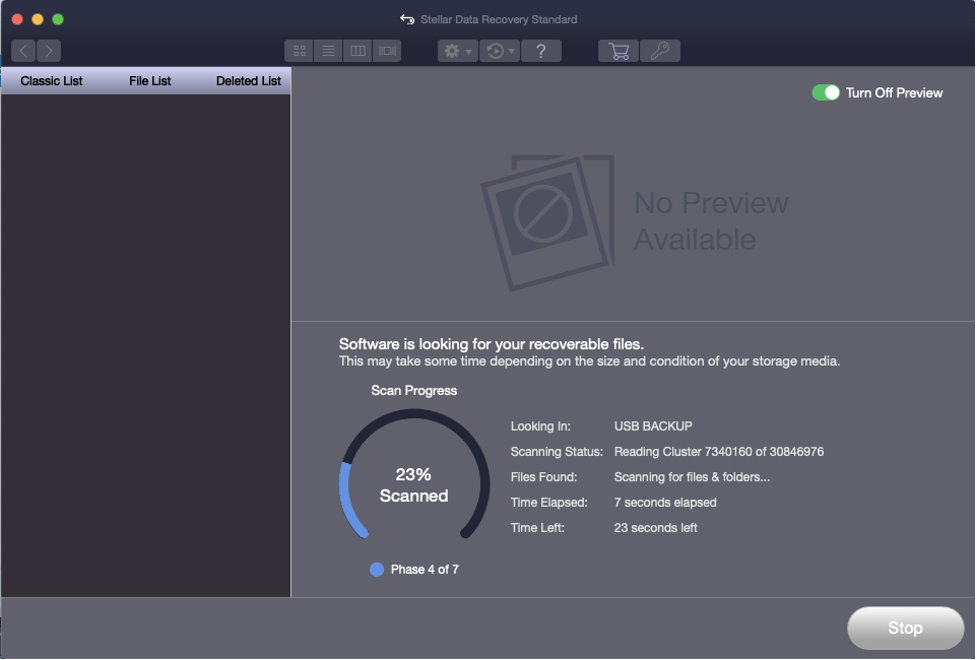
Step 5: Click ‘Scan’. At any point during scan, you can use the ‘Stop’ button to abort the scan.
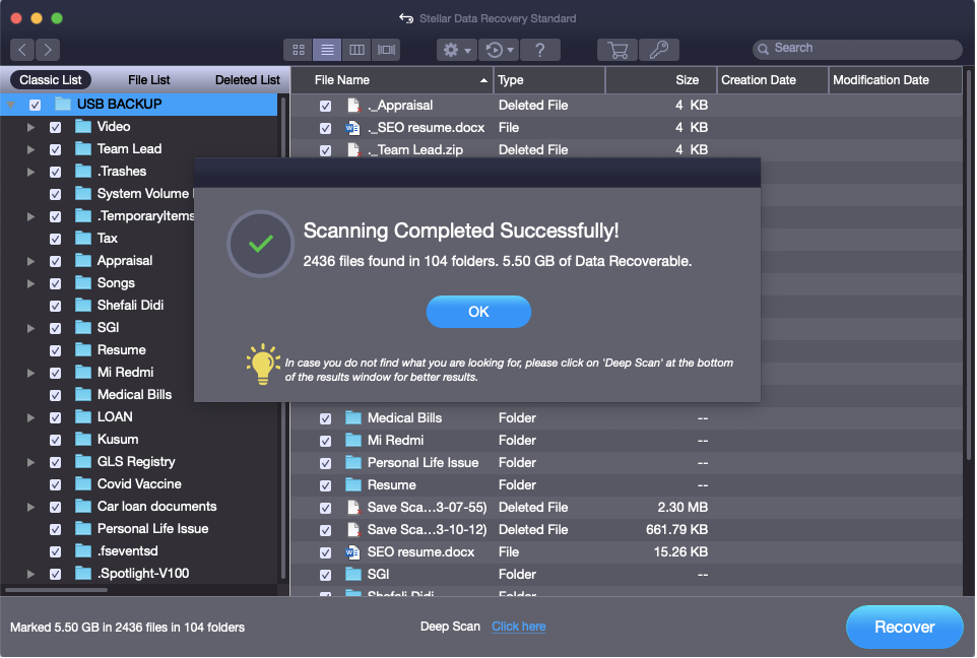
Step 6: Click ‘OK’ in the ‘Scanning Completed Successfully!’ window.
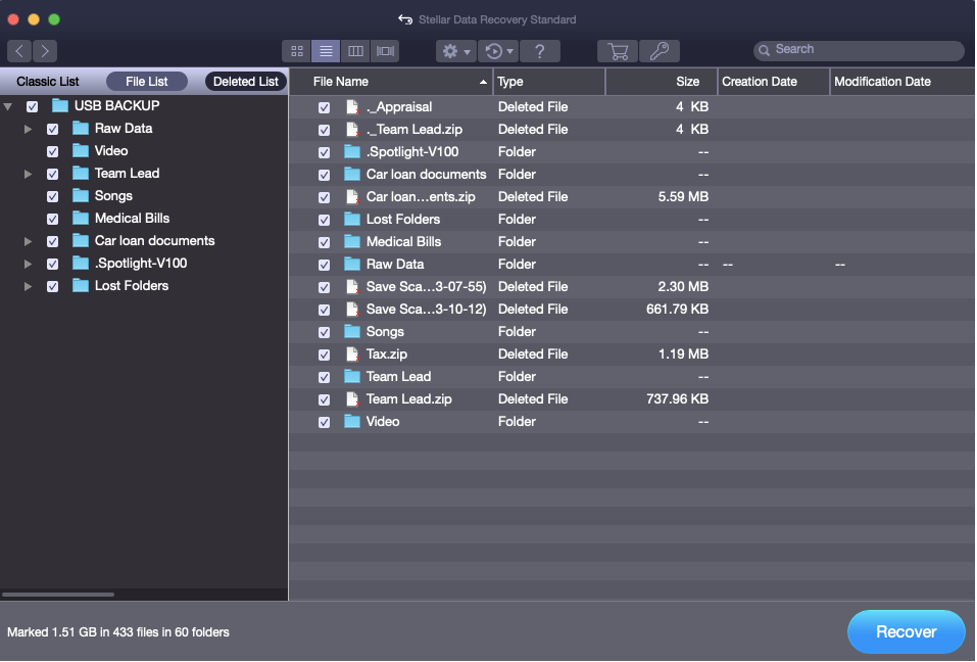
Step 7: Once the scanning is complete, the software provides three types of list to preview the scanned files:
- Classic List
- File List
- Deleted List
To know more about the preview options, refer to the previewing the scan results.
Step 8: From the ‘tree view’, select the files/folders you want to recover. Opt for ‘File List’ if you need to recover a specific file type or select the ‘Deleted List’ if you have to recover your deleted data.
Step 9: Once you have selected the files/folders, click ‘Recover’.
Step 10: In the ‘Recover’ dialog box, select the destination where you want to save the recovered files.
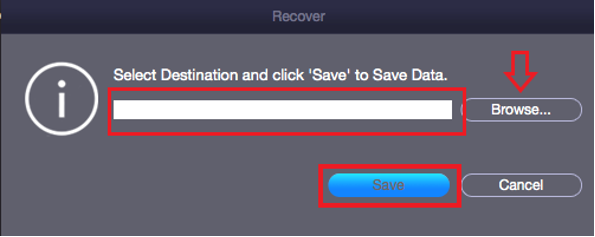
Step 11: Click ‘Save’ to start the saving process.
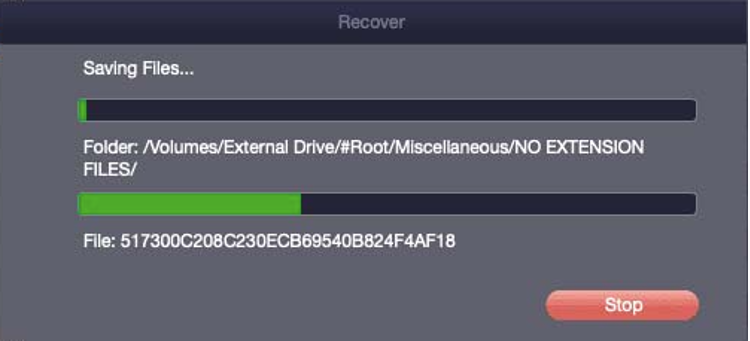
The files you’ve selected will be recovered and saved. You may access them by navigating to the destination you chose.
Advantages of Standard Edition:
- Pocket-friendly
- Best suited for Home users
- Offers unlimited data recovery
Limitations
The Standard version doesn’t offer a solution to the under mentioned complexities:
- To find volume
- To create disk image
- To rescue drive creation
If you have encountered a complex data loss resulting from a lost partition, computer crash, etc., you need an upgraded Stellar Data Recovery version.


Comment Reply
User Comments